Antarctica Photography: 10 Essential Tips
Antarctica photography is simply stunning. The White Continent is a land alone, a land forgotten by time.
Its pristine environment remains untouched by humans and, as such, exudes a wild and untamed nature that is both stark and hauntingly beautiful all at once.
Antarctica is a photographers dream and, quite often, a once in a lifetime opportunity to capture such a unique landscape. However, Antarctica photography is unlike any other photography and you’ll need to brush up on some skills before you leave.
Because you’re not likely to be there often, getting the right set up and shots for your DSLR is paramount. Therefore, we have put together these 10 essential Antarctica photography tips.
We realize that every photographer is different and that what you choose to shoot will greatly impact your gear. However, we believe these tips are universal and will make your Antarctica photography skills considerably better whether you’re shooting wildlife, landscape. macro etc.
Save Big on Your Antarctic Cruise
Antarctic cruise deals don’t last long – some cabins sell for 30–40% less than the regular price.
We check every major provider each month to uncover limited-time offers so you can experience the world’s last great wilderness for less.
Antarctica Photography – 10 Essential Tips
1. Bring Ziplock Freezer Bags and/or Dry Bags
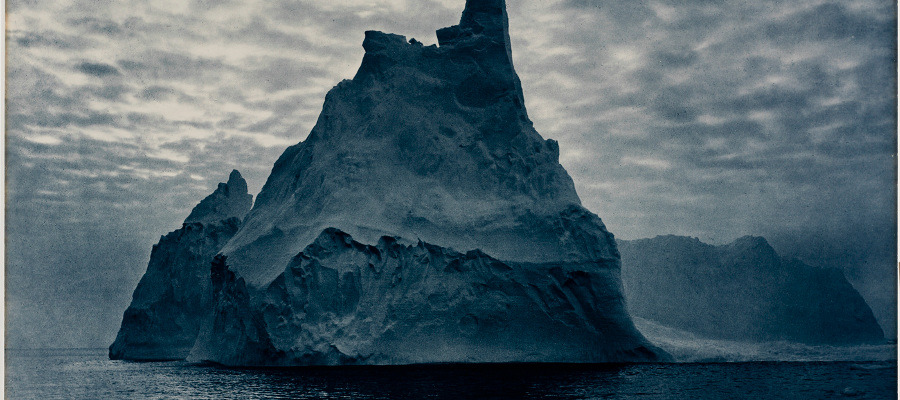
This is probably the single most important piece of gear you bring. Antarctica photography is cold – seriously cold.
It’s also wet. You’ll be travelling on zodiacs for much of the time when you’re photographing and water splashing into the boat is not uncommon. You’ll also be making wet landings where you really don’t want to drop any camera gear. Therefore dry bags are a must.
You’ll also need dry bags in the battle against condensation which every Antarctica photographer knows too well. The outside air temperature is far colder than inside the ship. Therefore, if you bring your camera straight from the cold into the the ship then condensation will form on both the outside and the inside of the lens and body.
To stop this, it’s best to seal your camera in a ziplock freezer bag, dispel all the air from it, then take it inside and leave it in the bag for a few hours as the camera slowly adjusts to the new temperature.
2. Bring several Camera Bodies
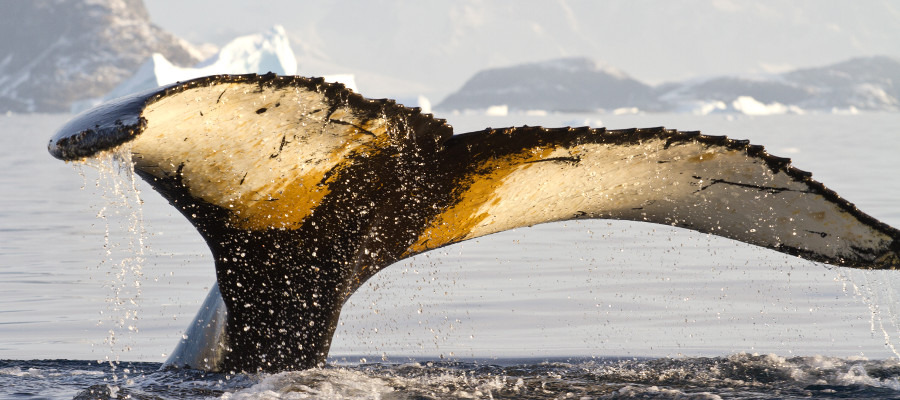
Because Antarctica often experiences severe weather conditions such as high winds, freezing temperatures, snow and rain, it’s never a good idea to change lenses outside.
Just when you’re taking a lovely landscape shot of an iceberg, you may suddenly spot a whale and need to change lenses. Exposing the camera in freezing conditions is not a sensible option and the only way of getting around this is to bring several camera bodies and several lenses.
This way you wont be exposing the camera and you’ll also be able to change lenses far more quickly – simply pick up the other camera and you’re away! A good tip here is to always test your camera settings prior to shooting as you want to be able to just pick up the camera and know you have the right settings to capture the shot instantly.
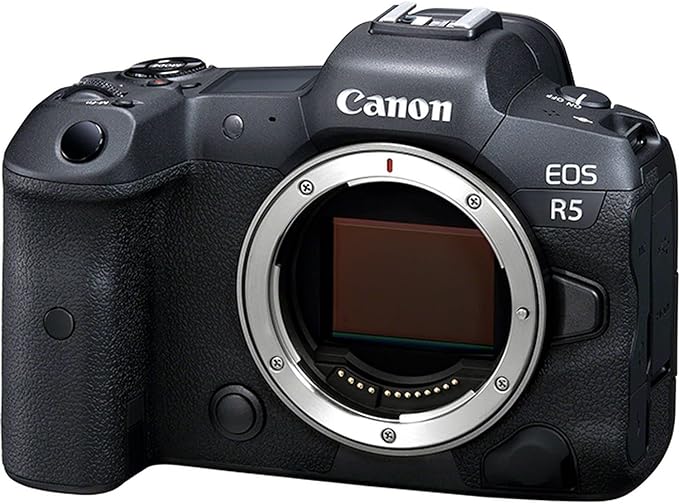
Our favourite wildlife camera body is probably the new Canon EOS R5 because of its unbeatable focusing system.
However, we also love the new Sony A9 III given its blistering 120fps at full 24.6MP! The A9 is expensive, but at 120fps, you are never going to miss a millisecond of the action.
For Nikon users we recommend the Z9. Nikon's flagship camera offers the same incredible 120fps, but at a lower resolution of 11MP. However, the Z9 allows you to capture stills at 45.7MP files when shooting at slower frame rates.
3. Bring Extra Memory Cards and Batteries
Once again, this is where the extreme cold of Antarctica comes into play. Your camera batteries will lose charge way faster in the cold conditions. In fact, expect about half the normal life of your battery.
Once you have been dropped ashore by one of your zodiacs, you can’t simply pop back to the ship another battery. Therefore, it’s imperative to bring extra batteries with you at all times.
Whilst memory cards are not affected by the cold, you many people find they fill them up quickly because of the constant photo opportunities.
We have also seen memory cards stop working midway through a trip. This can be soul destroying and it’s always a good idea to bring a back up just in case.
4. Demonstrate Scale in Your Photos
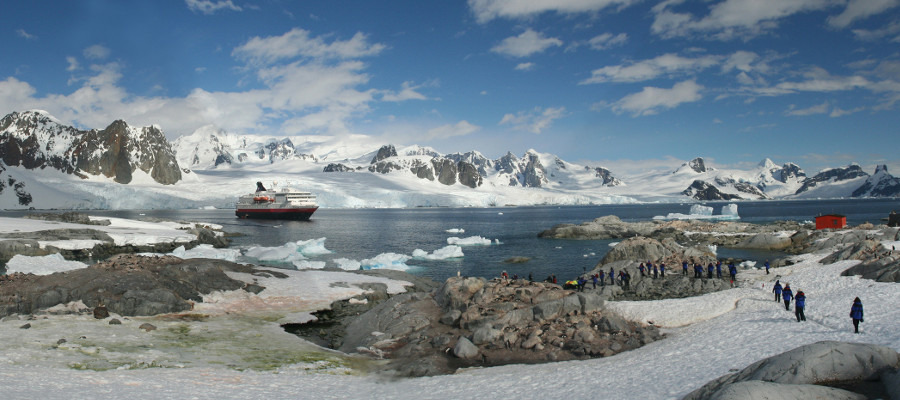
Antarctica is a land of extremes. Huge icebergs, towering ice sculptures and abundant wildlife less than 2 metres away are common sights.
Therefore, it’s a good idea to give your viewers a sense of that feeling by showing scale in your photos. By photographing seals, people, kayaks, penguins in your landscape shots, this will serve to demonstrate the scale of the landscape to your viewers.
Another good tip is to use your cruise ship. Although your ship will be large, it will be nothing compared to a huge iceberg!
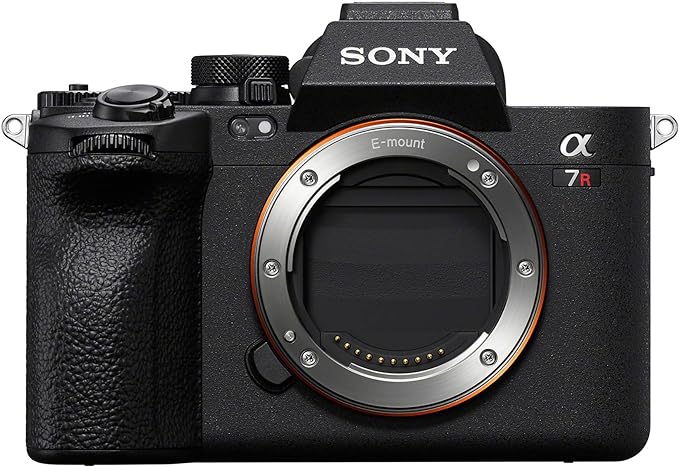
If landscape photography is your thing, then look no further than Sony A7R V. With a world-beating 61.0MP, the Sony is truly awesome and won't let you down.
If you are a Canon shooter then we recommend the Canon EOS R5 which has a massive 45MP and can deliver huge 400MP images via pixel-shift technology!
For Nikon users we recommend the full frame Nikon Z7 II. For people wanting a full frame lens on a budget then the Canon EOS R is your best bet. Super image quality and particularly good in low light.
5. Classic Wildlife poses
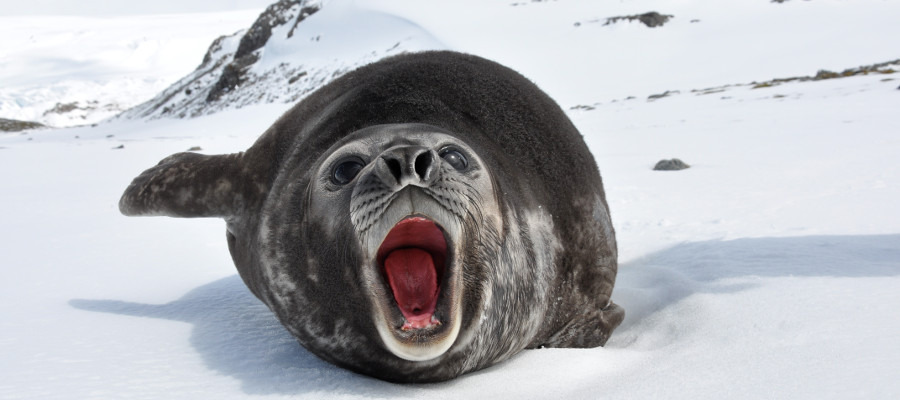
There are some shots that will always turn out better than others. Penguins in particular are very cute and photographing them whilst interacting gives you a much better chance of producing a nice shot.
Luckily, they’re quite sociable creatures and this shouldn’t be too difficult. Penguins in ‘flight’ tends to makes for a good shot, particularly jumping from ice bergs into the sea.
Seals are a little more difficult to shoot as they don’t really do much except lie still. However, if you can get a shot of one looking directly at the camera, this is always good, particularly if it bares its teeth in a yawn. Please remember never to disturb the wildlife or get too close.
If you remain still the wildlife will often come to you!
6. Tripod
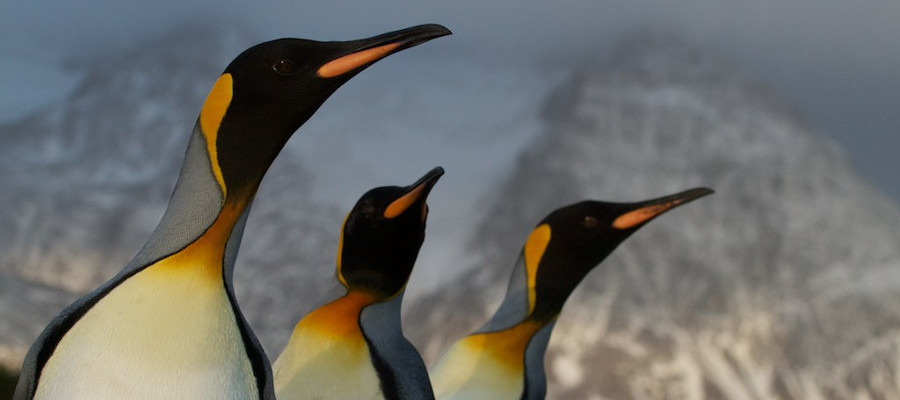
Most people will tell you that you need to bring a tripod for your Antarctica journey. However, this is not necessarily true.
Tripods are often large and cumbersome and you’ll constantly be dodging people on deck with them. The light is very good in Antarctica and we find that wildlife photographers generally leave them in the cabin after the first few days.
Unless you’re shooting macro, long exposure shoreline images or arty type movement shots, the tripod can stay at home. However, we do recommend bringing a very small travel tripod in case the shot you really want demands a tripod.
See our tripod recommendations.
7. Lens Filters
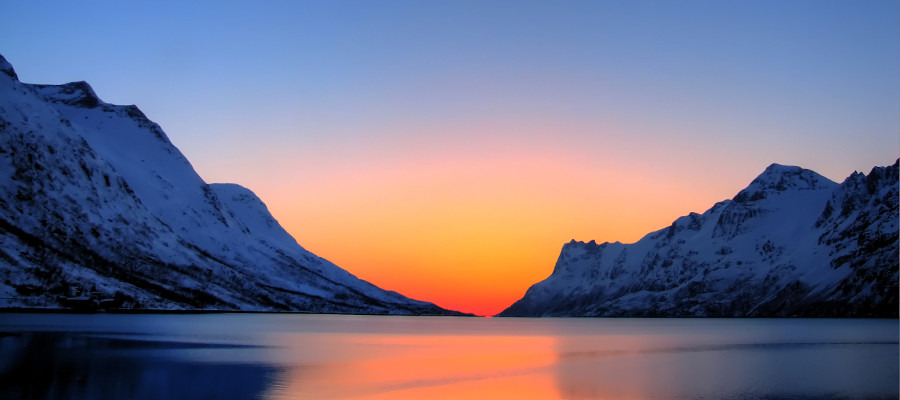
We always suggest taking two filters – A UV filter and a polarizing filter. The UV filter is basically a protection lens against the elements you may be shooting in.
Whereas the polarizing filter is a must for Antarctica photography as it helps reduce glare and saturates colours. The glare from the snow and sea on bright days can be extreme and a polarizing filter will reduce this significantly and sharpen distant focal points like icebergs, mountains etc.
Remember though, a polarizing filter will darken your shots and you’ll lose about two F stops of light. This is generally fine for landscape shots, however, wildlife photographers should take caution.
Save Big on Your Antarctic Cruise
Antarctic cruise deals don’t last long – some cabins sell for 30–40% less than the regular price.
We check every major provider each month to uncover limited-time offers so you can experience the world’s last great wilderness for less.
8. Getting The Right Exposure
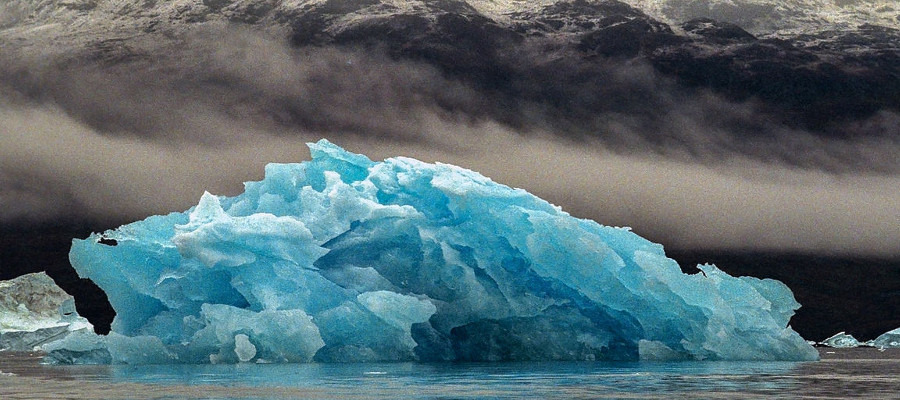
Getting the right exposure for Antarctica photography is more difficult than it sounds. Often, cameras have a difficult time reading bright snow which leads to the snow in your images appearing grey!
The dreaded grey snow effect is best avoided by bracketing your exposures. Generally a setting of 3 or 5 brackets at an interval of 1 to 2 stops will get your images showing nice white snow.
You’ll often have to over expose using this settings which will feel wrong, however, just go with it and see what happens. Check out this video for more info.
9. Shoot From Different Angles
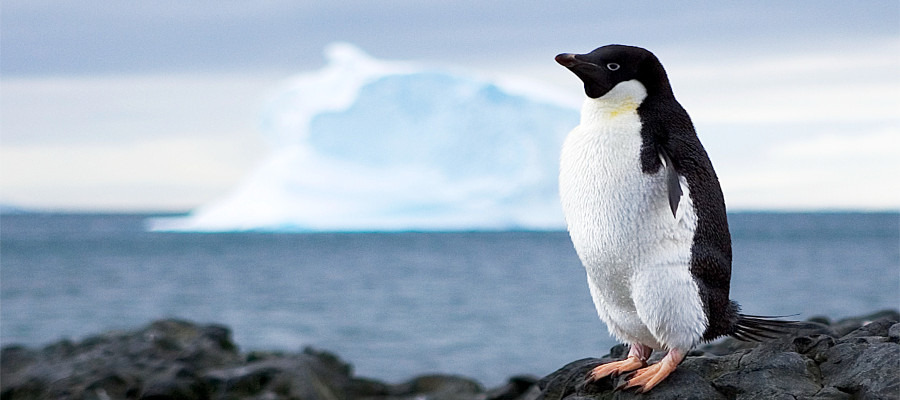
With so much wildlife it’s often difficult to think of good ways to photograph them! The best rule to remember is to get down to your subjects height.
Both penguins and seals are relatively short creatures. If you stand near them and shoot downwards you’ll find that the shot doesn’t have that wow factor.
Antarctica photography is all about the background. This means getting on the ground and photographing the wildlife from their level. This way you’ll be able to get the landscape behind the wildlife. This is particularly important in a spectacular environment such as Antarctica.
By getting lower you’ll often be able to photograph more of the penguins or seals at once which is also another nice effect.
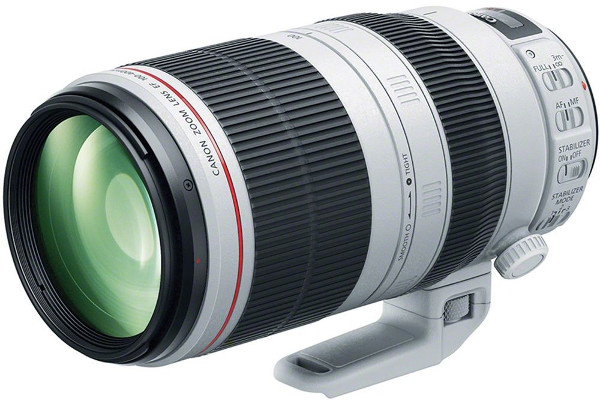
With so many lens options, it can often be difficult deciding on the best option. We personally recommend the Canon EF 100-400mm f/4.5-5.6L for wildlife photography in Antarctica. Great reach and very versatile!
For landscape photographers you can't go wrong with either the Canon EF 16-35mm f/2.8L ll USM Zoom Lens or the Canon EF 24-105mm f/4 L IS USM Lens. Both lenses are incredibly sharp, even wide open.
For Nikon we definitely recommend the Nikon AF-S FX NIKKOR 24-70mm f/2.8E
10. Shooting From a Zodiac or Kayak
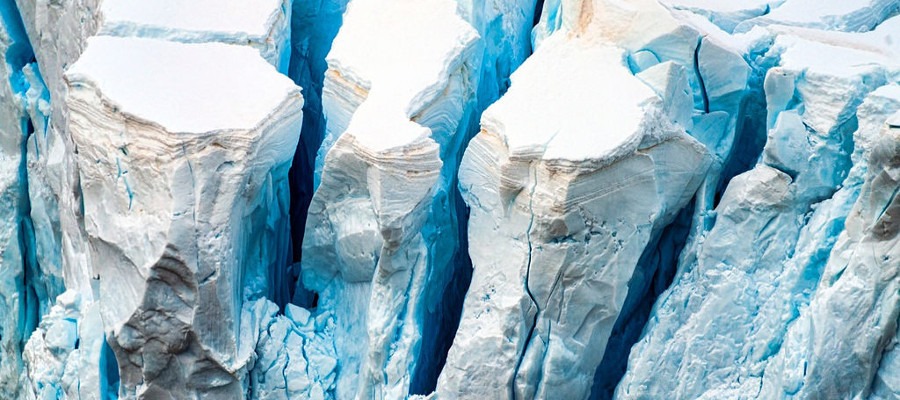
You’ll often want to get your camera out whilst on a zodiac or kayak. This is the time when you can explore the lesser seen areas of Antarctica and see angles of icebergs you wouldn’t otherwise get to view.
However, zodiacs and kayaks can be bumpy which makes taking photos a bit more difficult, especially when it comes to getting a level horizon. There are two things to remember here. The first is shutter speed. If there is plenty of light use a faster shutter speed as this will stop any blurring from movement.
The second is cropping. If you’re shooting landscape, make sure to zoom out further than the shot requires. This is so when you’re editing back home you’ll have space to crop properly, particularly if your horizon is not level, you’ll be able to rotate the photo slightly and still get the whole image you wanted.
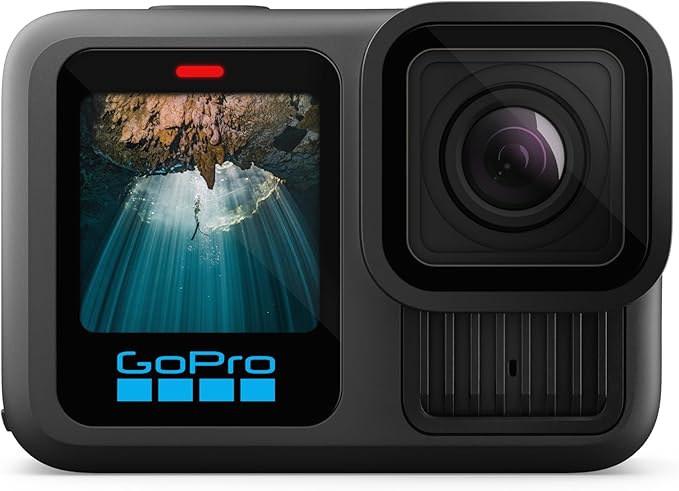
The best camera for your adventure is definitely the latest GoPro Hero. Strap them to your kayak and get incredible footage as you pull up next to a seal or whale!
For people looking for an all-in-one camera that does stills and video, then we seriously suggest looking at the Sony Alpha series. The latest A7R V is quite simply unbeatable when it comes to both factors.
61.0 megapixles, 8K footage, Slow-motion capabilities at 4k and 14 stop dynamic range makes this one unstoppable piece of kit!
Save Big on Your Antarctic Cruise
Antarctic cruise deals don’t last long – some cabins sell for 30–40% less than the regular price. We check every major provider each month to uncover limited-time offers so you can experience the world’s last great wilderness for less.

Mark W
USA
FAQ
If you would like to know more, please leave a comment below and we will endeavor to get back to you within 24 hours! Alternatively, please see our FAQ page here. If you would like to get a cruise quote, please use this form.
Thank you - AntarcticaGuide Team

Bill says
7 years ago
Burnham Arlidge says
7 years ago
Margaret Minor says
7 years ago
Burnham Arlidge says
7 years ago
tim williams says
6 years ago
Burnham Arlidge says
6 years ago
MAX says
6 years ago
Burnham Arlidge says
6 years ago
MAX KLEINMAN says
6 years ago
Sohel Rana says
5 years ago
Thanks for sharing your information.I have benefited from reading your article. Thank you very much.
Evawolf says
5 years ago
The content is beneficial. Tips number 3 seems quite interesting. Thanks for these great tips and useful information.